
Introduction to Balcony Garden Layouts
Living in an apartment taught me quickly that a balcony isn’t extra space, it’s prime space. When you’re working with 1–4 square meters, every pot placement, railing clamp, and shelf height matters. Over the years, I’ve tested layouts through rainy seasons, Harmattan winds, intense afternoon sun, and weeks when watering time was limited.
The layouts below are built around real balcony constraints: weight limits, narrow walkways, uneven light, and the need to still step outside without tripping over tomatoes.
If you are entirely new to balcony garden, you can check out our ABC balcony garden tips for beginners.
Table of Contents
Want more inspiration? Discover 3 stunning balcony garden layouts perfect for small apartments—click to see how you can transform your space!
How can I maximize a small balcony for gardening?
Maximizing a small balcony starts with treating it like a vertical room rather than a flat patio. You are not decorating a floor, you are designing walls, corners, railings, and airspace while keeping airflow and drainage in mind.
The first thing I always do is measure usable depth, not total balcony depth. On most apartments, 30–45 cm must remain clear for safe walking. That leftover zone becomes the garden footprint. From there, stacking upward is the only way to increase plant count without chaos.
Before choosing containers or plants, I work through this practical planning checklist.
Small Balcony Space Planning Checklist
Before adding a single pot, clarity here prevents overcrowding later.
- Measure balcony width, depth, and railing height in centimeters.
- Confirm weight limits if available (many balconies max out around 200–250 kg total).
- Track sun exposure for one full day (morning-only, afternoon-only, or mixed).
- Identify wind direction and strength during storms.
- Decide how much walking space you realistically need (usually 30–45 cm).
- Check drainage rules to avoid water dripping onto neighbors below.
Once these basics are clear, layout decisions become much easier.
What is the best layout for balcony plants?
The best layout depends less on plant type and more on how light and access move across your balcony. In my experience, beginners fail when they copy aesthetic photos without adapting them to their own sun and movement patterns.
There are three layout styles that consistently work in apartments: vertical wall layouts, rail-based layouts, and floor-based layouts. Most productive balconies combine all three in controlled proportions.
Understanding the Three Core Balcony Layout Types
Each layout style solves a different space problem. Before mixing them, it helps to understand their strengths and limits.
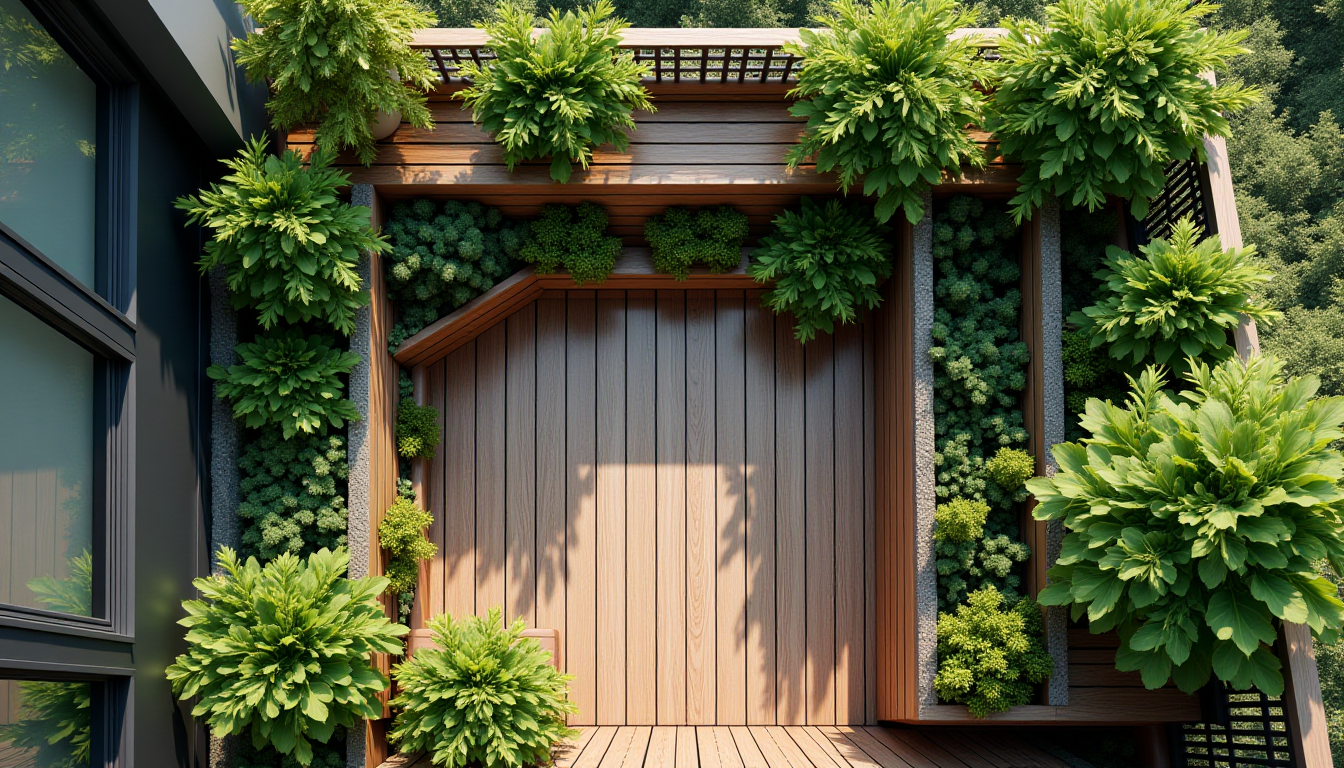
Vertical Garden Layouts
Vertical layouts use walls, grids, or freestanding towers to grow upward instead of outward. They are the fastest way to double or triple plant capacity on a narrow balcony.
In my 1.2 m wide balcony, installing a 1.8 m tall metal shelf increased my growing area without touching the walking path. However, vertical gardening requires disciplined watering and plant selection.
Best uses for vertical layouts include herbs, leafy greens, strawberries, and lightweight flowering plants.
Vertical Layout Considerations
- Ideal shelf depth: 20–25 cm to prevent tipping.
- Maximum shelf height: 180 cm for safe access without stools.
- Place heavier pots on lower tiers.
- Use drip trays on every level to avoid water cascade.
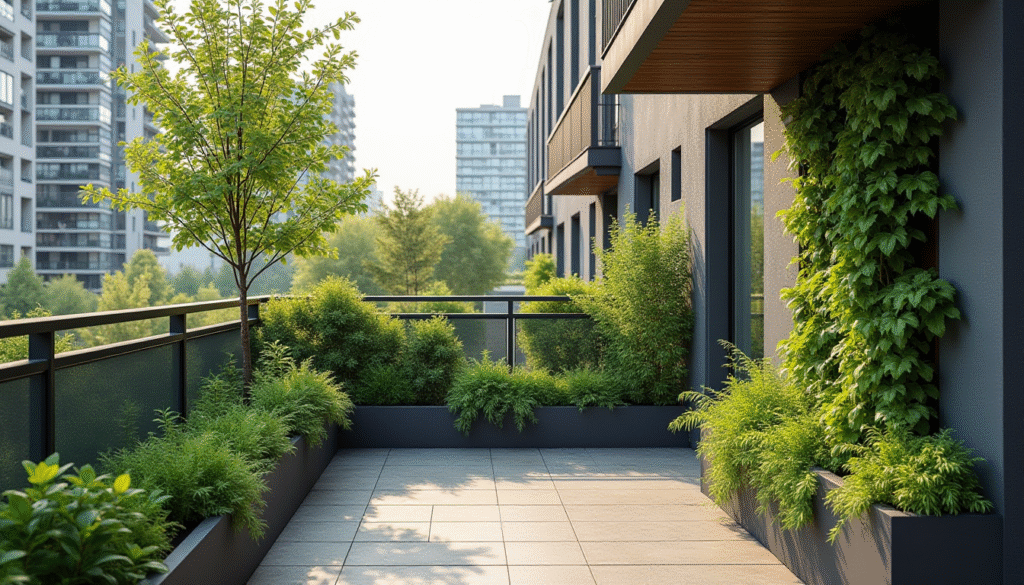
Rail-Based Balcony Layouts
Rail layouts turn the balcony edge into productive space. Railing planters are especially valuable in apartments where floor space is minimal.
I’ve found that rail planters work best when used symmetrically. An unbalanced railing can strain mounts during heavy rain or strong wind.
Rail layouts are perfect for shallow-root plants and herbs that don’t mind airflow.
Rail Layout Considerations
- Typical rail planter depth: 15–20 cm.
- Use metal brackets rated for outdoor weight.
- Space planters 20–30 cm apart to prevent crowding.
- Avoid top-heavy fruiting plants on rails.
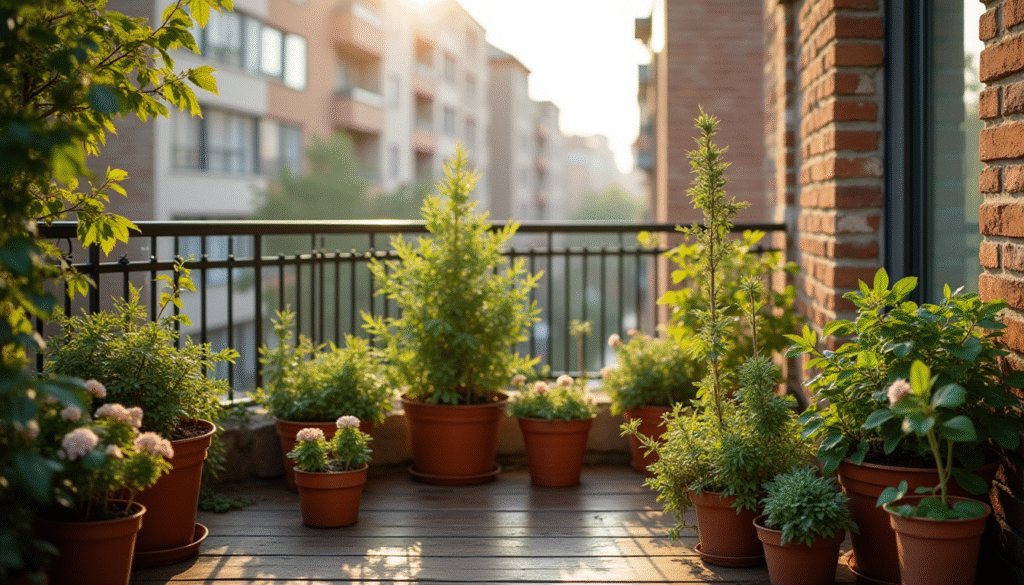
Floor-Based Container Layouts
Floor layouts anchor the entire garden. These containers support fruiting plants, dwarf trees, and deep-root crops that vertical systems can’t handle.
On my balcony, floor pots stay grouped along the wall, never in the center. This preserves walking space and reduces accidental knocks.
Floor Layout Considerations
- Container diameter: 25–40 cm for most vegetables.
- Elevate pots slightly using feet or bricks for drainage.
- Group plants with similar watering needs.
- Leave at least 5 cm between containers for airflow.
Layout Comparison Table: Choosing the Right Structure
Understanding how each layout performs side-by-side helps avoid overcrowding or wasted space.
| Layout Type | Space Efficiency | Plant Capacity | Maintenance Level | Best For |
|---|---|---|---|---|
| Vertical wall | Very high | High | Medium–High | Herbs, greens, strawberries |
| Rail-based | High | Medium | Low–Medium | Herbs, flowers |
| Floor-based | Medium | Low–Medium | Low | Tomatoes, peppers, dwarf citrus |
Combining Layouts Without Overcrowding
The most successful balcony gardens rarely rely on a single layout. The key is proportion.
On balconies under 2 m², I aim for:
- 50% vertical structures
- 30% rail planters
- 20% floor containers
This balance keeps the space productive while still livable.
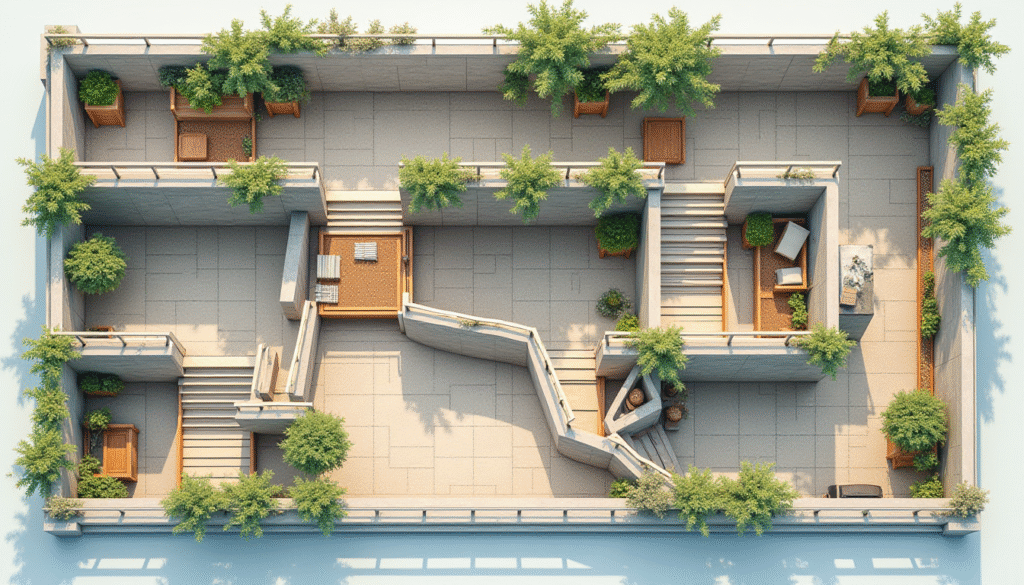
Sample Small Balcony Layout Strategy
This approach works especially well for beginners who want results without constant rearranging.
- Install one vertical shelf against the least sunny wall.
- Use rail planters only on the sunniest side.
- Limit floor containers to 2–3 large pots max.
- Keep the center line completely clear for movement.
Light Mapping Before Final Placement
Light determines layout success more than aesthetics. I always sketch a simple light map before placing plants permanently.
Morning-only balconies favor leafy greens and herbs. Afternoon sun balconies handle fruiting plants but require shade planning. Mixed light balconies benefit most from tiered layouts.
Quick Balcony Light Mapping Method
This simple process takes one day and saves months of frustration.
- Check sun at 8am, 12pm, and 4pm.
- Note shaded zones caused by walls or nearby buildings.
- Assign sun-loving plants to the brightest rail or floor spots.
- Reserve partial shade for vertical shelves.
By designing around light first, your layout works with your balcony instead of fighting it.
Planting Combinations That Work by Layout Type
Once the structure is set, plant pairing determines whether your balcony feels abundant or constantly stressed. I learned early that mixing plants randomly leads to uneven watering, shading issues, and underperforming crops. Grouping by root depth, growth speed, and sun demand makes maintenance manageable in small spaces.
Best Plant Combinations for Vertical Layouts
Vertical systems dry out faster and receive uneven light from top to bottom, so plant choice matters more than quantity.
- Top tiers: basil, thyme, oregano, lettuce (lighter weight, quick access)
- Middle tiers: spinach, arugula, strawberries
- Bottom tiers: mint (contained), parsley, chives
Avoid mixing fruiting plants like tomatoes with leafy greens vertically. Tomatoes outgrow shelves quickly and shade everything below within weeks.
Best Plant Combinations for Rail Planters
Rail planters get the most wind and sun exposure. I treat them like “showcase rows” for hardy, shallow-rooted plants.
- Culinary herbs: rosemary (compact variety), thyme, sage
- Flowers: nasturtiums, alyssum, petunias
- Compact edibles: dwarf chili peppers, lettuce mixes
Keep watering needs similar across the railing to avoid constant adjustments.
Best Plant Combinations for Floor Containers
Floor pots support the heaviest and most demanding plants. Fewer containers here usually produce better results.
- One 30–40 cm pot: cherry tomato + basil companion
- One 30 cm pot: bell pepper + green onions
- One 35–40 cm pot: dwarf lemon, fig, or bay tree
Never crowd two heavy feeders into one floor pot. I tried it once, and both plants struggled all season.
Space-Saving Techniques That Actually Work
Space-saving isn’t about squeezing in more plants. It’s about removing inefficiencies. These techniques came from seasons of trial and error on narrow apartment balconies.
Proven Balcony Space-Saving Methods
Each of these has saved me measurable space without increasing workload.
- Use rectangular planters instead of round ones on shelves and rails.
- Choose fabric grow bags for floor containers to reduce weight.
- Grow cut-and-come-again greens instead of head lettuce.
- Prune aggressively every 7–10 days during peak growth.
- Use stackable risers to lift smaller pots above larger ones.
One simple switch from round to rectangular planters freed nearly 15 cm of shelf space on my balcony.
Seasonal Layout Rotations for Year-Round Use
A fixed layout doesn’t mean fixed plants. Seasonal rotation keeps the same structure productive all year, even in urban climates with heat extremes or rainy seasons.
Warm Season Layout Focus
During hot months, I prioritize airflow and shade management.
- Move heat-loving plants (tomatoes, peppers) to floor and rail zones.
- Shift leafy greens to shaded vertical sections.
- Add light shade cloth on west-facing balconies.
- Reduce shelf density to improve air circulation.
Cool Season Layout Focus
Cool seasons allow denser planting and fuller shelves.
- Replace tomatoes with spinach, kale, and Swiss chard.
- Fill vertical shelves completely.
- Use rails for lettuce and herbs instead of flowers.
- Increase container spacing slightly to prevent moisture buildup.
Rotating plants without changing the layout saves time and avoids constant redesign.
Troubleshooting Common Balcony Garden Problems
Most balcony garden issues trace back to layout mistakes rather than plant health. Fixing structure usually fixes growth.
Problem: Plants Dry Out Too Fast
This often happens in vertical and rail layouts.
- Increase pot size by 5–10 cm.
- Add mulch even in small containers.
- Water early morning, not midday.
Problem: Overcrowding and Poor Growth
This is the most common beginner issue I see.
- Remove one-third of plants immediately.
- Prioritize airflow over fullness.
- Stick to your original walking clearance.
Problem: Plants Leaning or Falling
This indicates imbalance or wind exposure.
- Move heavy pots to lower levels.
- Anchor shelves to walls if allowed.
- Reduce plant height through pruning.
Beginner Mistakes to Avoid
These mistakes cost me seasons of frustration before I corrected them.
- Copying Pinterest layouts without measuring.
- Ignoring weight limits.
- Mixing incompatible plants in one container.
- Blocking the walking path “just temporarily.”
- Overestimating how much daily watering you can handle.
A balcony garden should simplify life, not add stress.
Conclusion
A productive balcony garden isn’t about size, it’s about intentional layout. By treating your balcony as a vertical growing zone, respecting light and movement, and choosing plants that match each structure, even the smallest apartment space can become a reliable food and herb source.
Start simple, leave room to walk, and let the layout do most of the work for you.
FAQs on Balcony Garden Layouts
How many plants can I realistically grow on a small balcony?
Most balconies between 1–2 square meters comfortably support 15–25 plants when using vertical and rail layouts properly. The exact number depends on container size and plant type. I recommend starting with fewer plants and adding gradually after observing growth, watering needs, and airflow for at least one full month.
Is vertical gardening safe for apartment balconies?
Yes, when done correctly. Use shelves rated for outdoor use, anchor tall units when possible, and place heavier pots on lower levels. Avoid DIY systems that rely on weak hooks or plastic fasteners. Safety comes from balance and weight distribution, not from minimizing plants.
What plants grow best on shaded balconies?
Shaded balconies perform best with leafy greens, herbs, and certain flowers. Spinach, lettuce, mint, parsley, and chives grow well with 3–4 hours of indirect light. Fruiting plants usually struggle without at least 5–6 hours of direct sun, regardless of layout.
How do I prevent water from dripping onto neighbors below?
Always use drip trays under pots and line shelves with waterproof mats. Water slowly so soil absorbs moisture instead of overflowing. I also water early morning when evaporation is lower. Never rely on self-draining pots without secondary trays on balconies.
Can I rearrange my layout mid-season?
Yes, but do it gradually. Move one or two containers at a time and monitor plant stress for a few days. Sudden light or wind changes can shock plants. I usually rearrange during cooler evenings to reduce transplant stress.
What is the best beginner-friendly balcony layout?
A mixed layout works best: one vertical shelf, a few rail planters, and two floor containers. This setup teaches watering balance, light management, and pruning without overwhelming maintenance. It’s the same structure I recommend to friends starting their first balcony garden.
Helpful Resources
- University of California Agriculture and Natural Resources Extension
- Cornell Cooperative Extension
- Royal Horticultural Society
- United States Department of Agriculture Urban Agriculture Program
- Missouri Botanical Garden